Plan a Staircases in ReluxDesktop
Staircases are among the most demanding areas in lighting design. They span multiple floors, are often safety-critical for emergency and escape route lighting and in ReluxDesktop, they require a lot more than just dropping a horizontal calculation plane on the ground.
Here's a concise summary of the best methods and practical tips you can apply straight away.
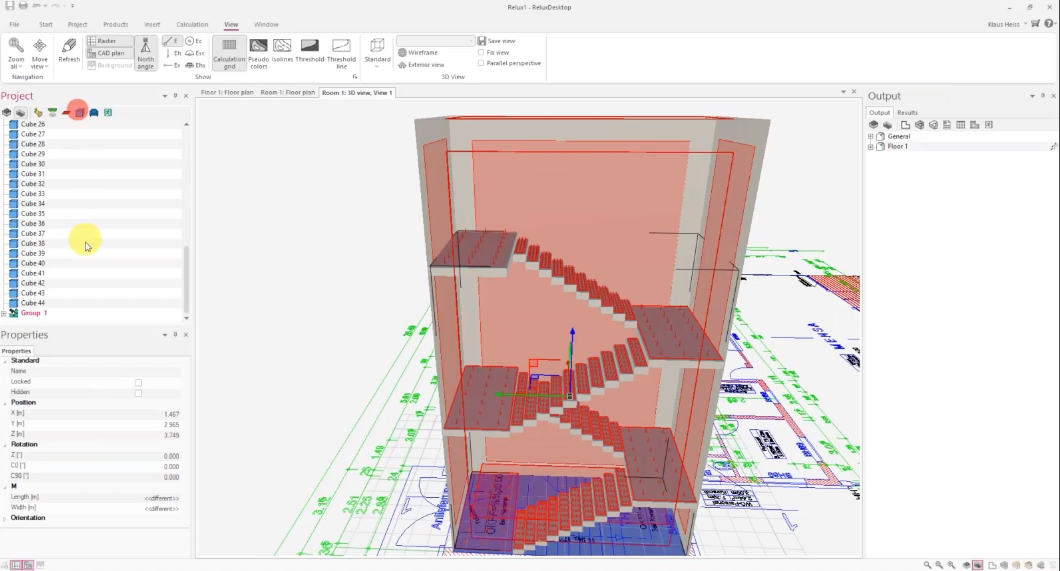
METHOD 1 - MODELLING Step by step with the 3D row tool
The recommended standard approach for straight staircases. Once you've built the first step, an entire staircase run can be generated in just a few clicks:
- Insert the first step as a cuboid (prism) - height = room height ÷ number of steps
- (e.g. 2.4 m ÷ 15 = 0.16 m)
- Adjust reflectances: top face → floor, bottom face → ceiling, side faces → wall
- Place a calculation grid directly on the step (~6×2 points, approx. 20 cm height)
- Group the step and calculation surface into a single object
- Use the "3D row" function to automatically duplicate the group upward
- Extend the last step into a landing, then copy and position everything with Ctrl to complete the stairwell

TARGET VALUES - EN 12464
- Illuminance: 100–150 lux
- Uniformity: > 0.4 Uo across all steps
- Glare (UGR): ≤ 25
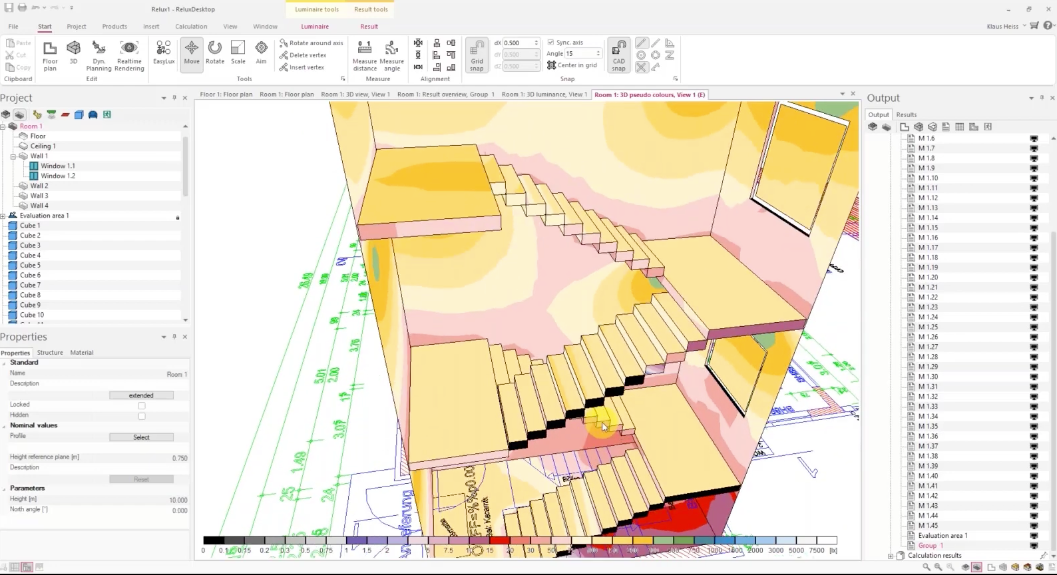
EVALUATION - PRACTICAL TIPS Group your calculation surfaces properly
For meaningful results, all individual step calculation surfaces should be combined into a single calculation surface group. This gives you averaged mean, minimum, and uniformity values across the entire staircase in one place.
Important for rail/transit projects: Deutsche Bahn guideline 813.05 requires each individual step to be calculated separately. Diagonal calculation planes across the full staircase run, once known as the "Flintstones method", are no longer permitted there.
PLACEMENT · GLARE CONTROL Always mount wall luminaires above 2 metres
Wall-mounted luminaires must be positioned higher than 2 metres, otherwise they shine directly into the eyes of users walking up the stairs. Diffuse luminaires suspended beneath stair landings (~2,200 lm) have proven to be an effective and comfortable solution.
ALTERNATIVE MODELLING PATHS When the staircase gets complex
For spiral or asymmetric staircases, there are additional import options:
- Section extrusion: Trace the staircase outline from a 2D DWG cross-section and extrude it along the Y-axis
- 3D model import: OBJ, FBX, DWG or directly from Revit, calculation surfaces then need to be placed manually on each step
- Smartphone scan: Walk through a real stairwell with a scanning app (e.g. Amrax) and import the finished 3D model directly into ReluxDesktop
VISUAL CHECK Use the Realtime Renderer as your final review
Before submitting, always do a walkthrough in the realtime renderer (Cape). Use the spacebar to move virtually through the building and walk up the stairs. Direct sightlines into luminaires, missing handrails, and unexpected shadows all become immediately visible , before they show up in the report.
Found this useful? Share it with colleagues in lighting design , and drop a comment below with which method you use most in practice.
Follow this newsletter for more tips on ReluxDesktop, lighting standards, and everyday lighting planning.
More in FUN with RELUX – Episode 30
Download ReluxDesktop
Update or download to the latest ReluxDesktop version to take advantage of the latest features such as ReluxSport.Download